
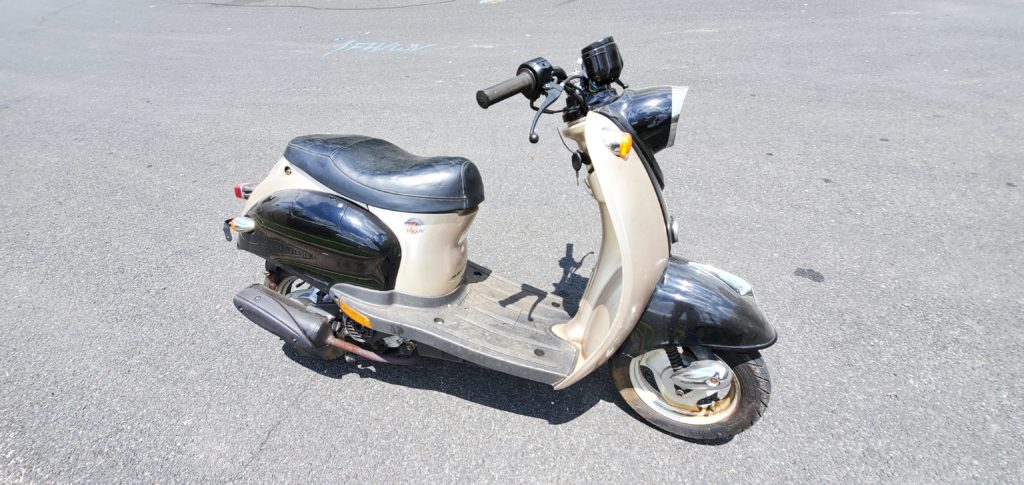
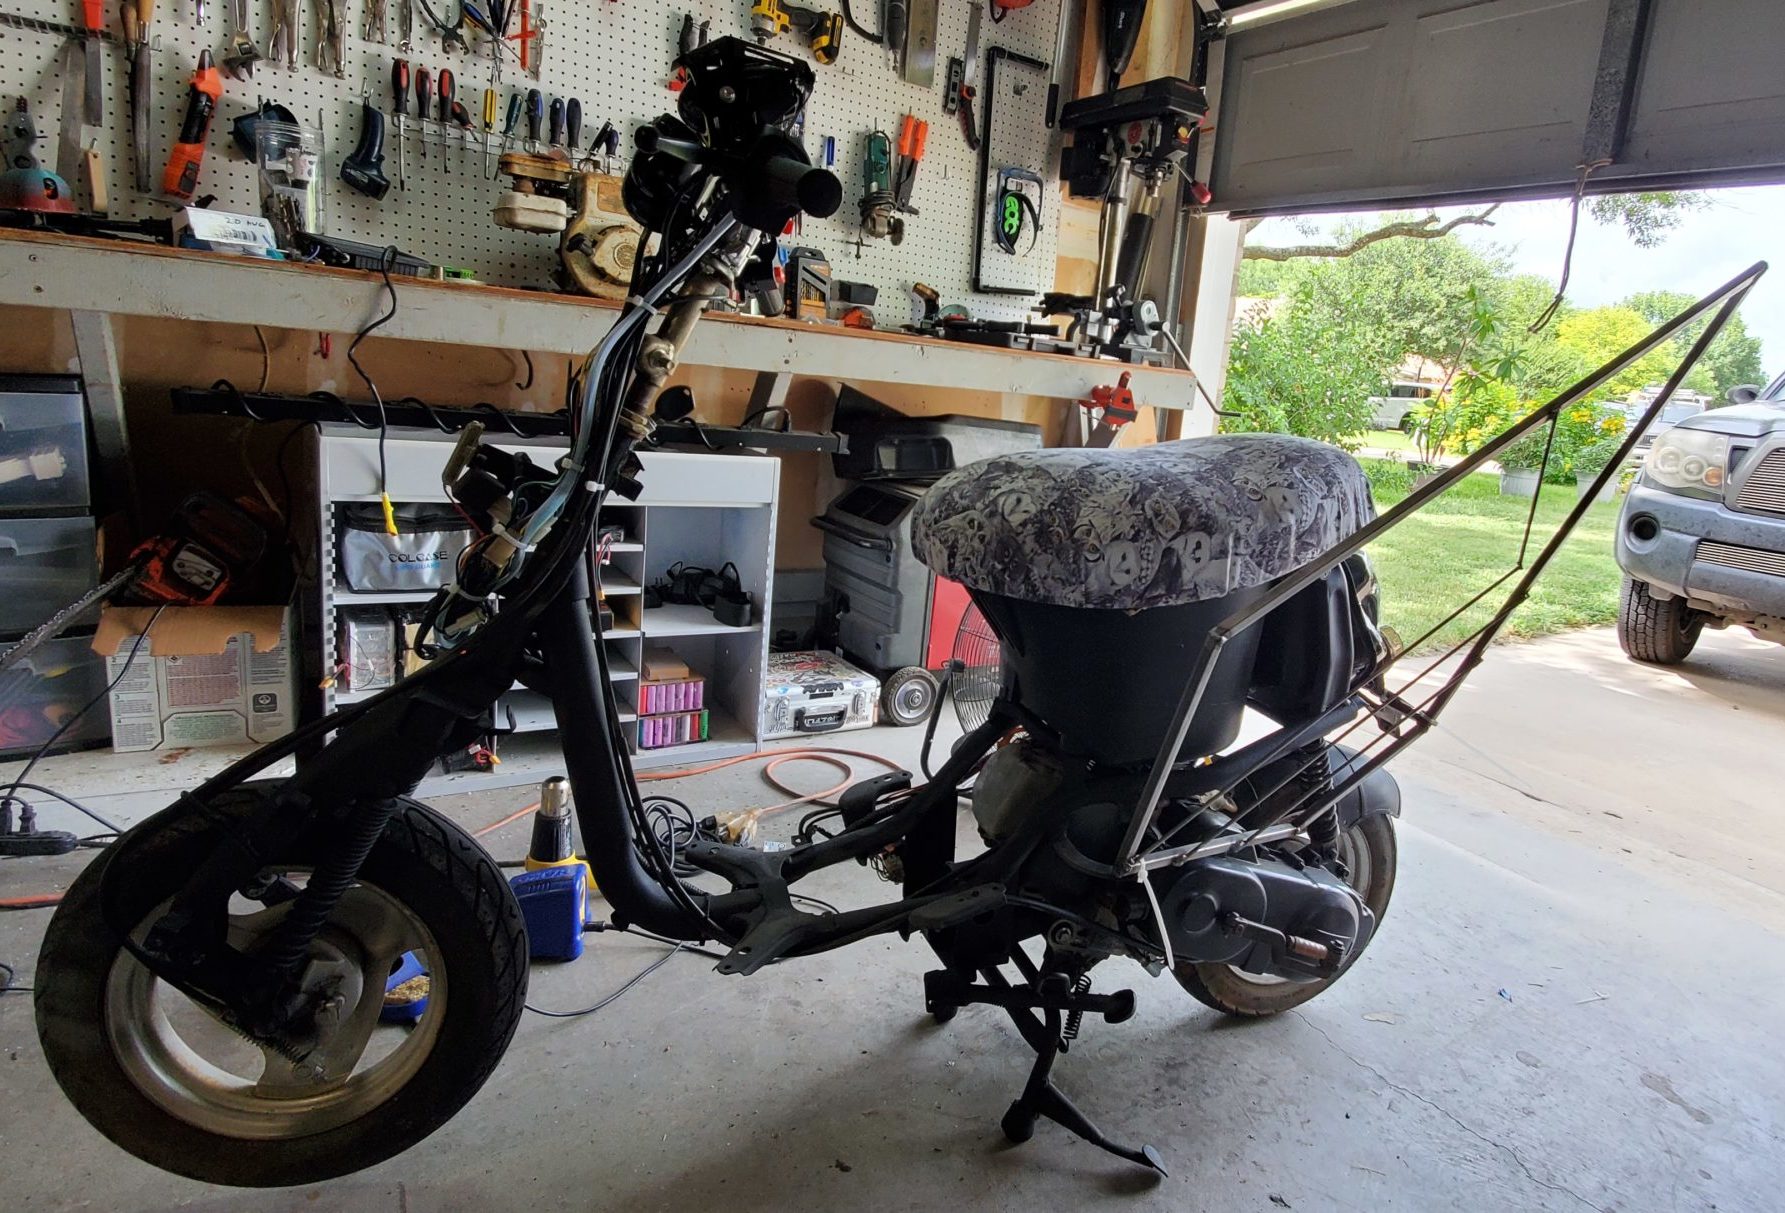
The base of the vehicle is from a 50cc Retro scooter. I purchased the scooter in May of 2021 not knowing what I was going to do with it, but within days, the Hootie project began. This mutant vehicle project brings in all my skills as an artist, maker, and fabricator, including coding, welding, metal lathe, laser cutters, 3D printing, CNC, electronics, and more.
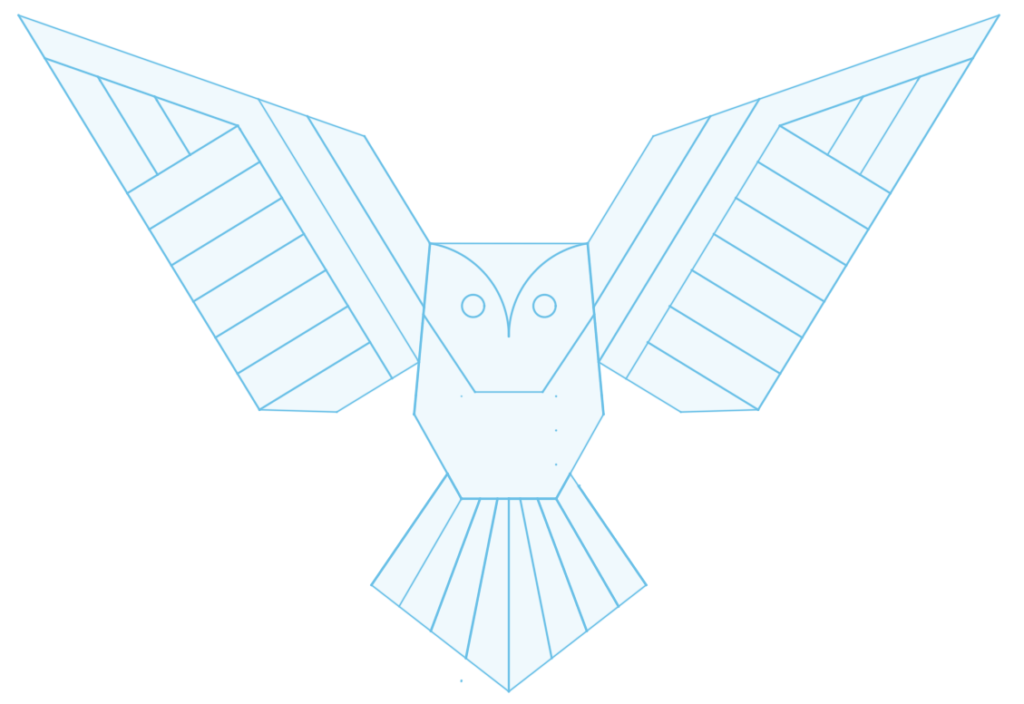
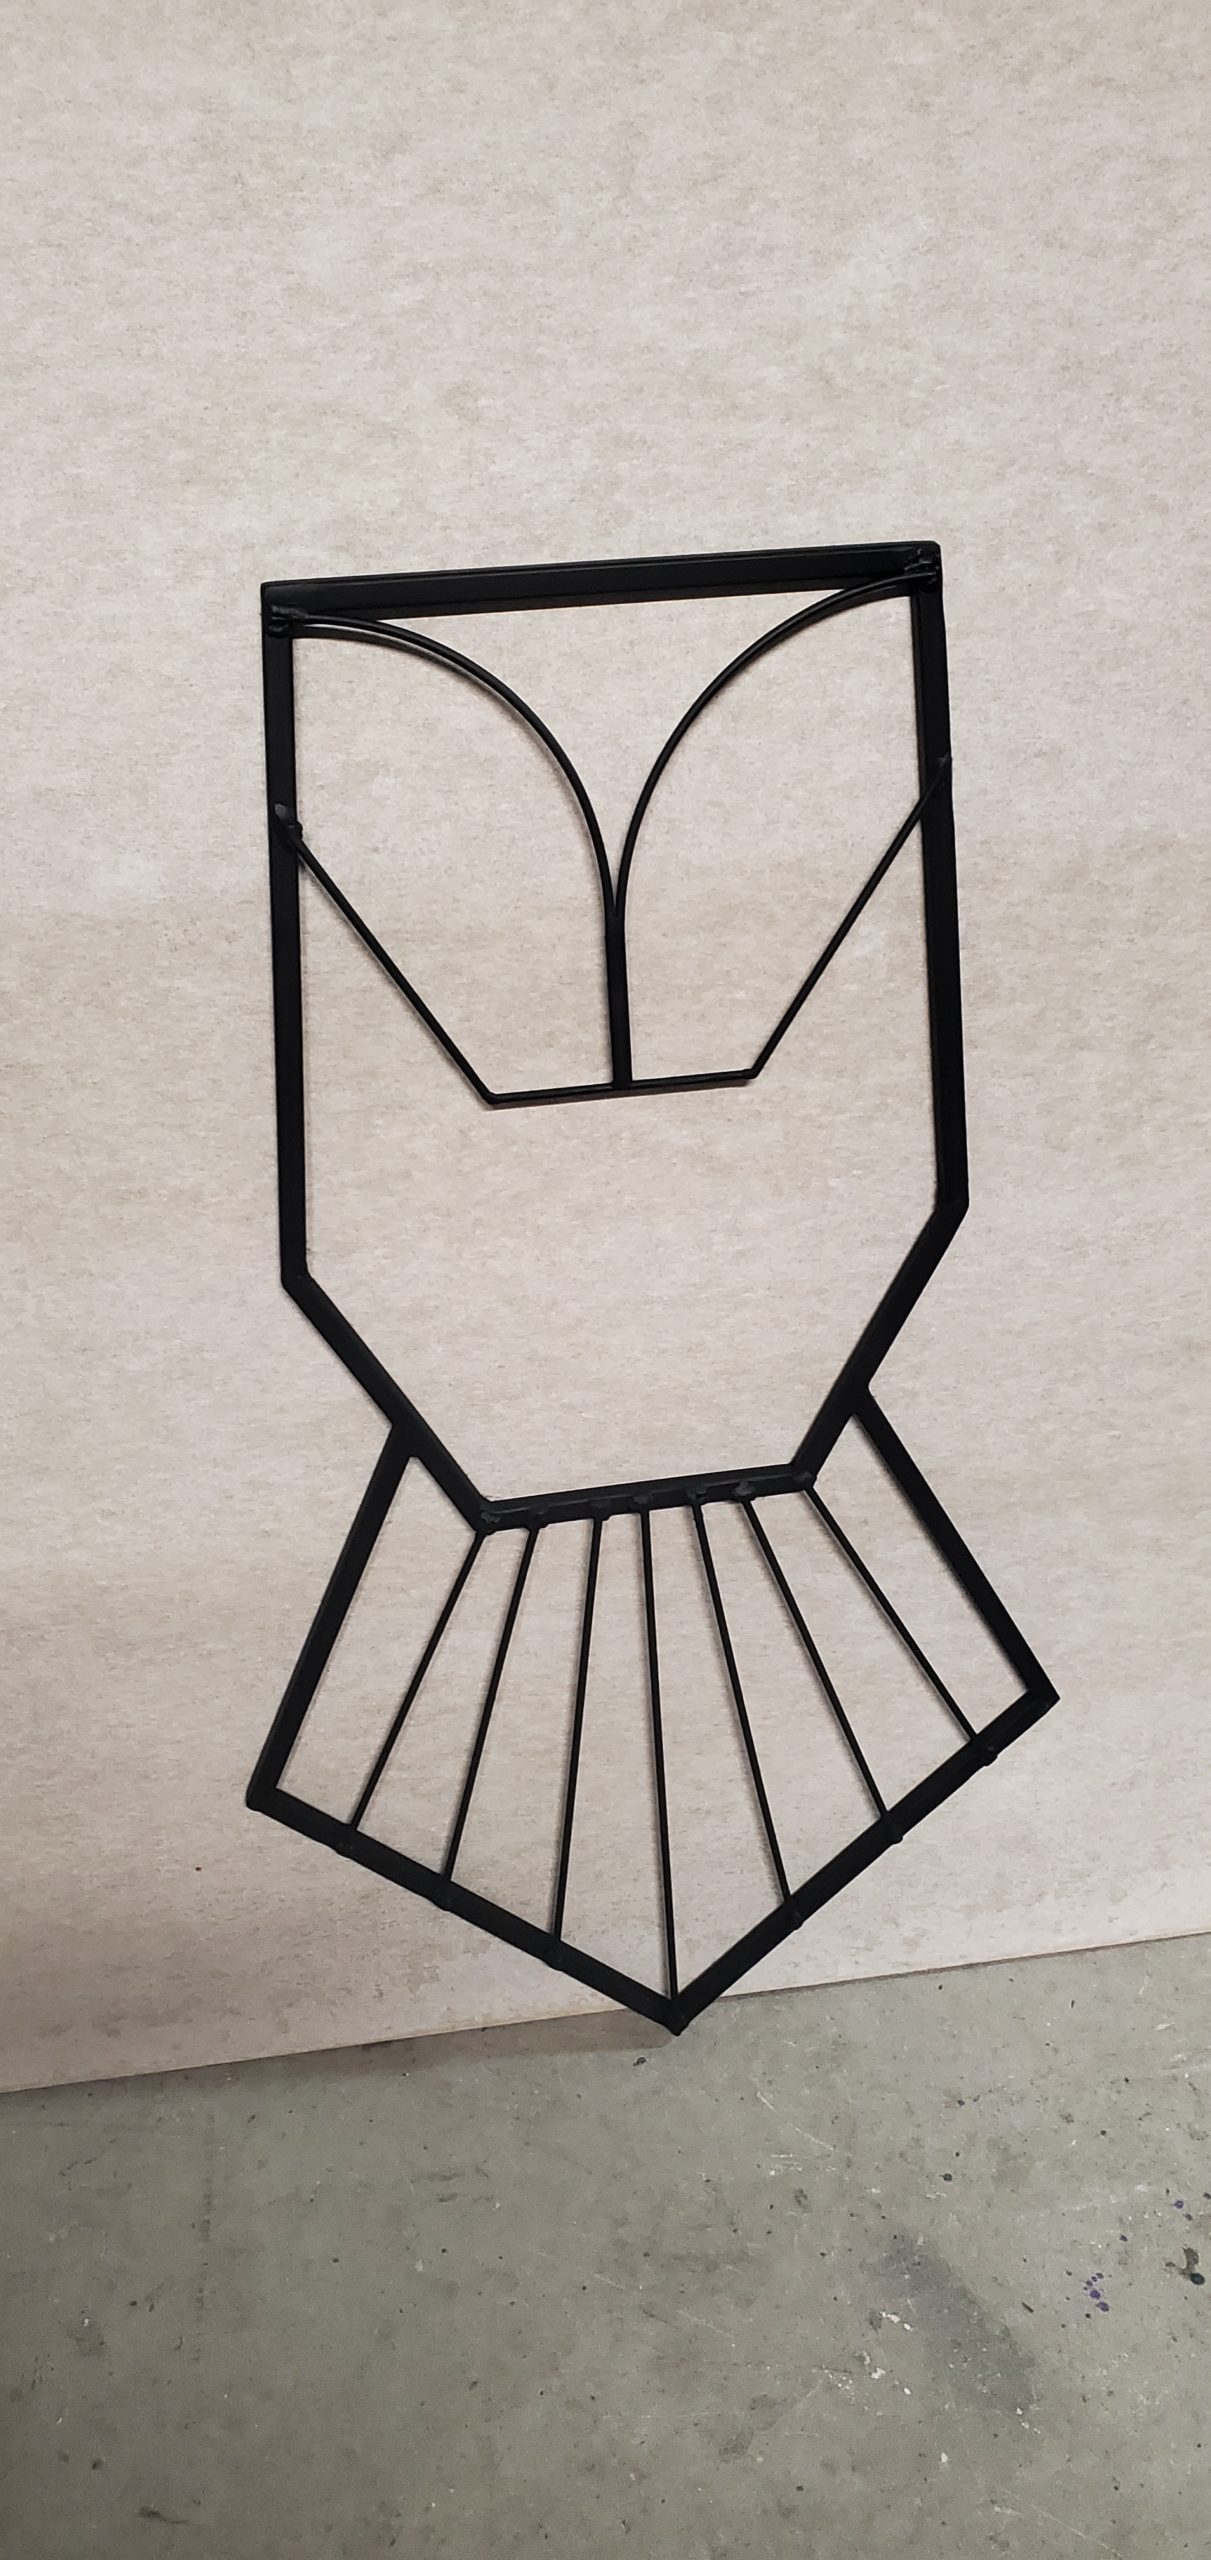
I knew I wanted to build an owl, I did some research. I looked for other owl mutant vehicles, different kinds of owls, drawings of owls, opinions from my partner, to name a few sources of inspiration.
I knew I wanted the aesthetic pieces of the vehicle to be removable panels. This was mainly for ease of transportation (1,800 miles each way). Once I had a direction of where I wanted to go, I did a 2D sketch in Fusion 360 using the dimensions of the scooter’s frame. The idea was to have the center body on the front of the scooter and have a wing on either side hiding the motor.
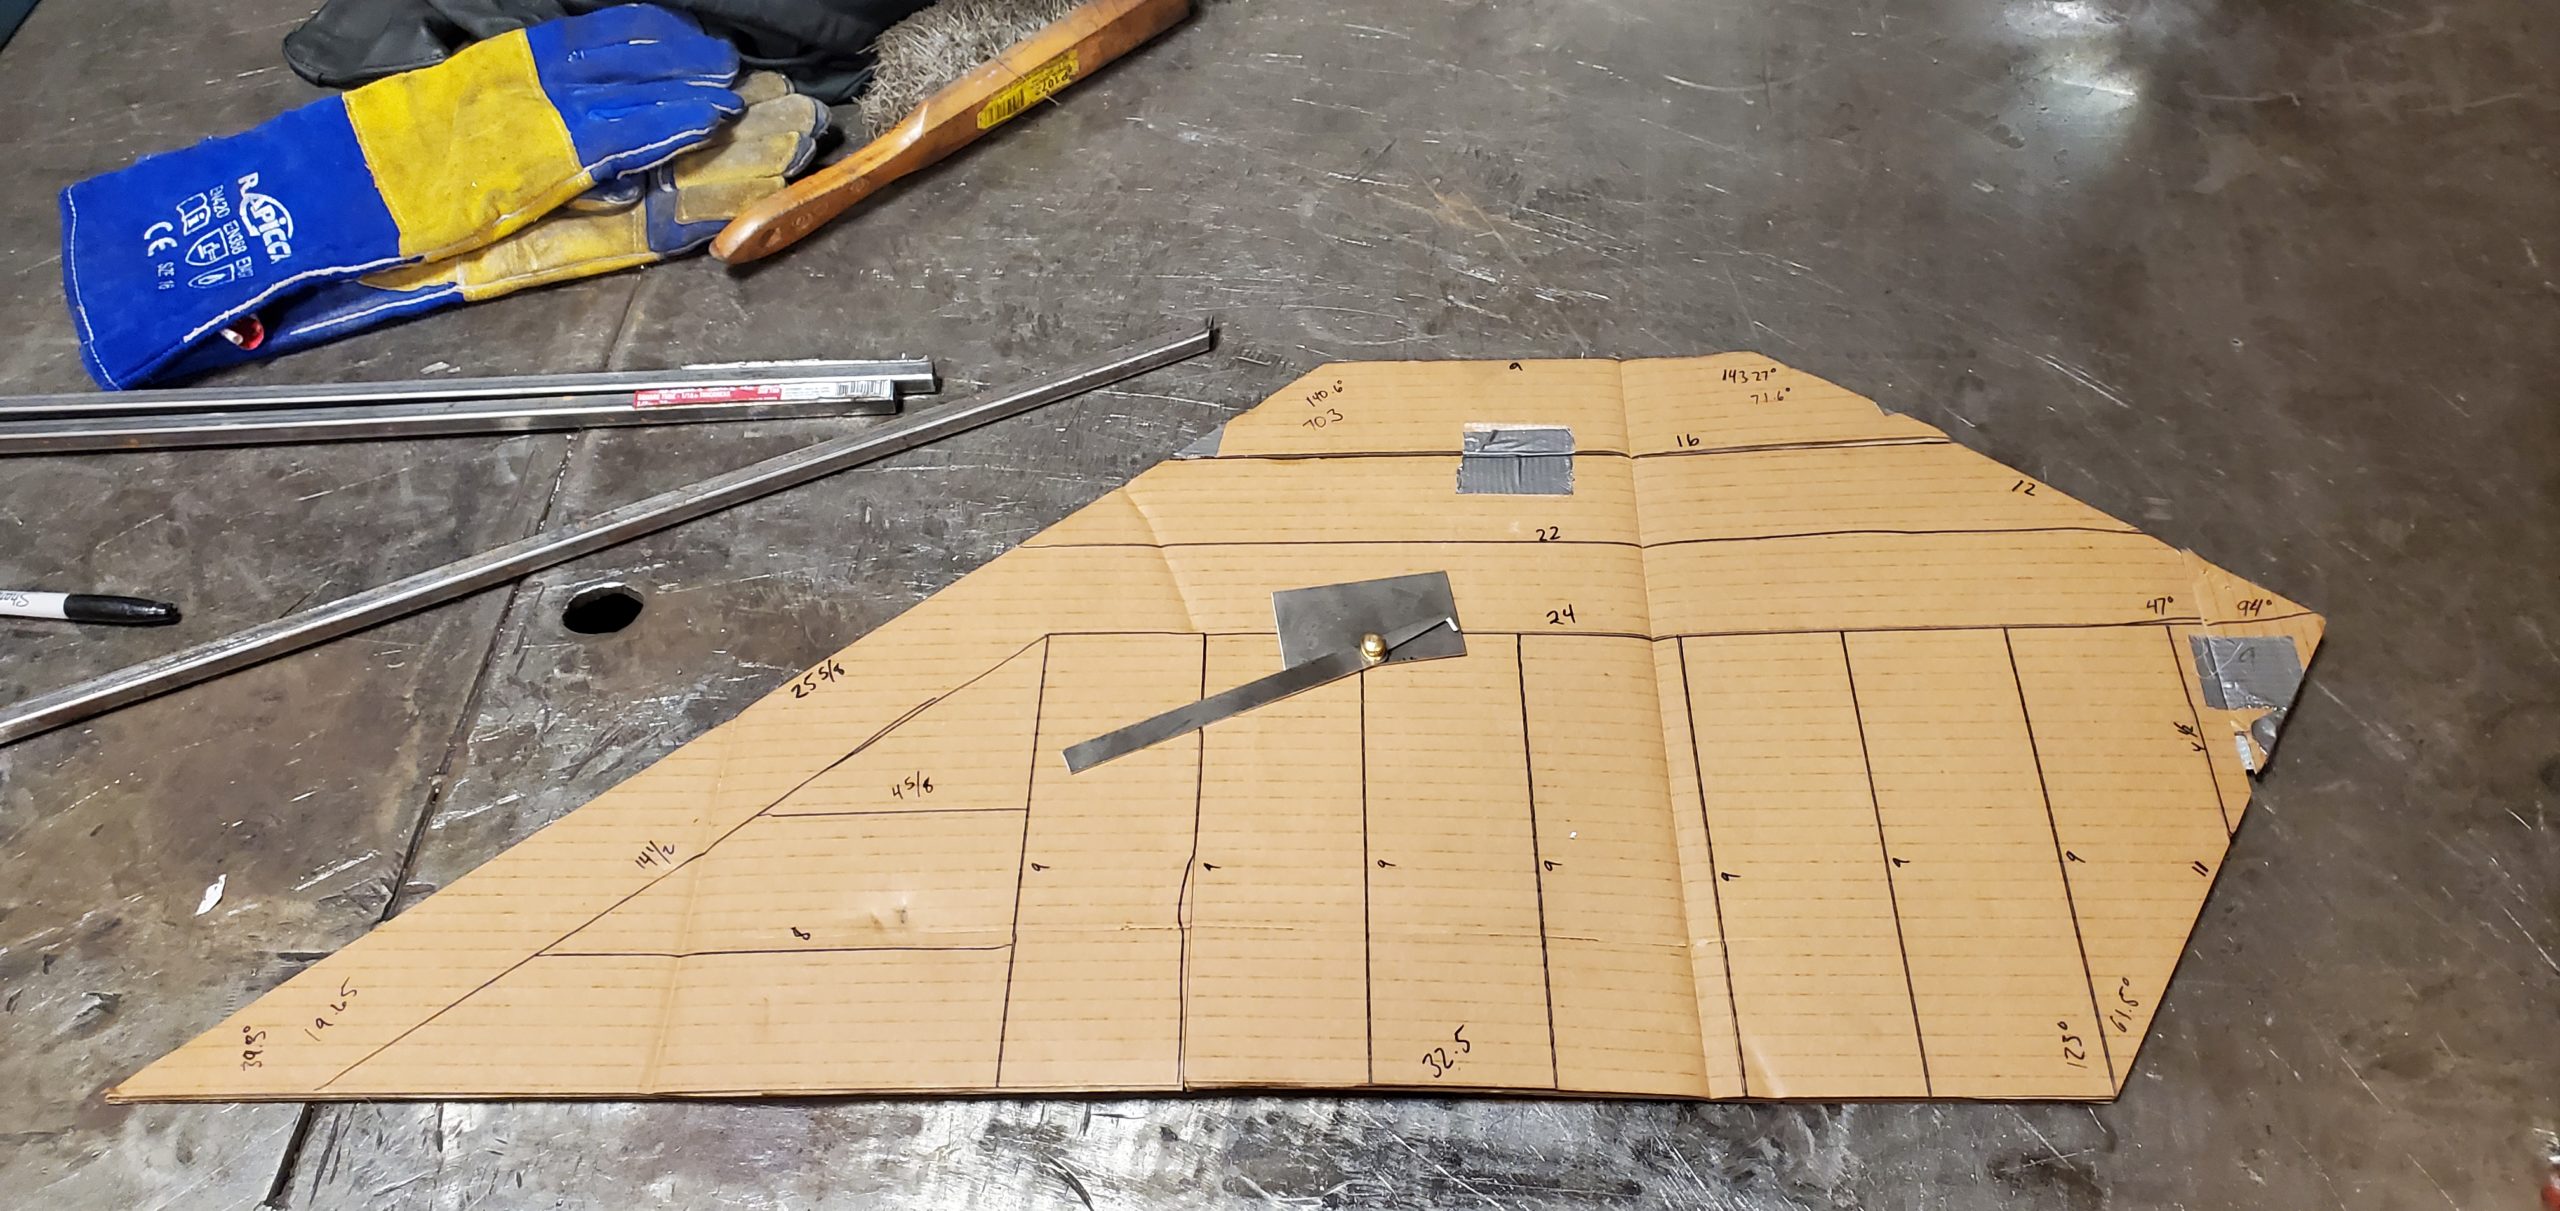
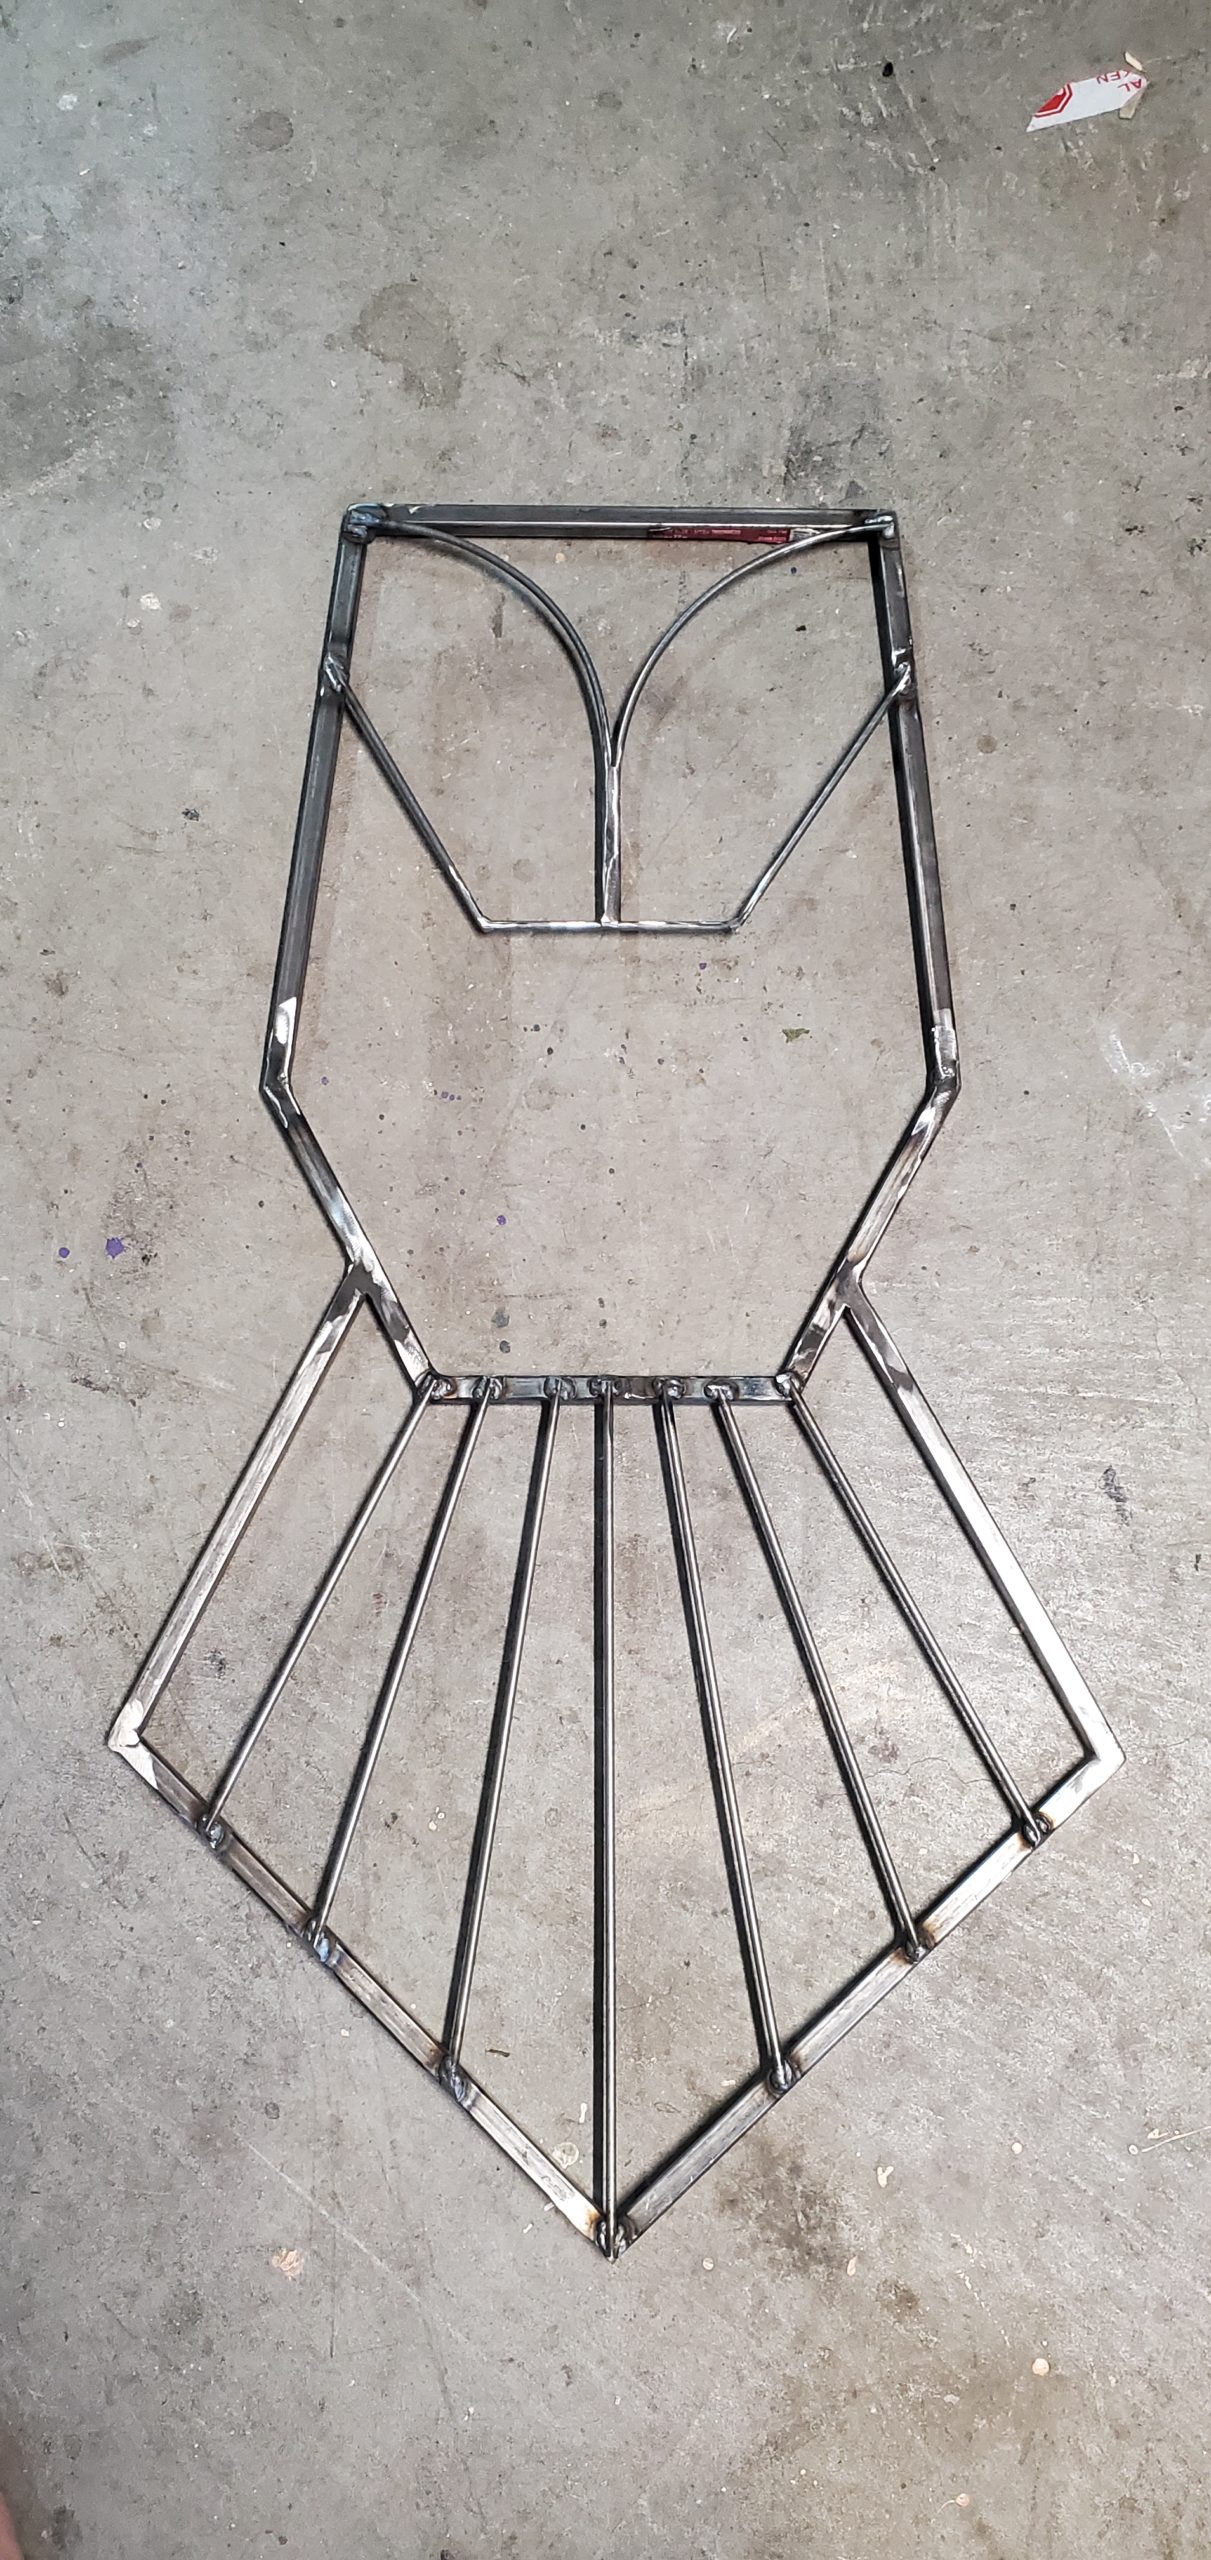
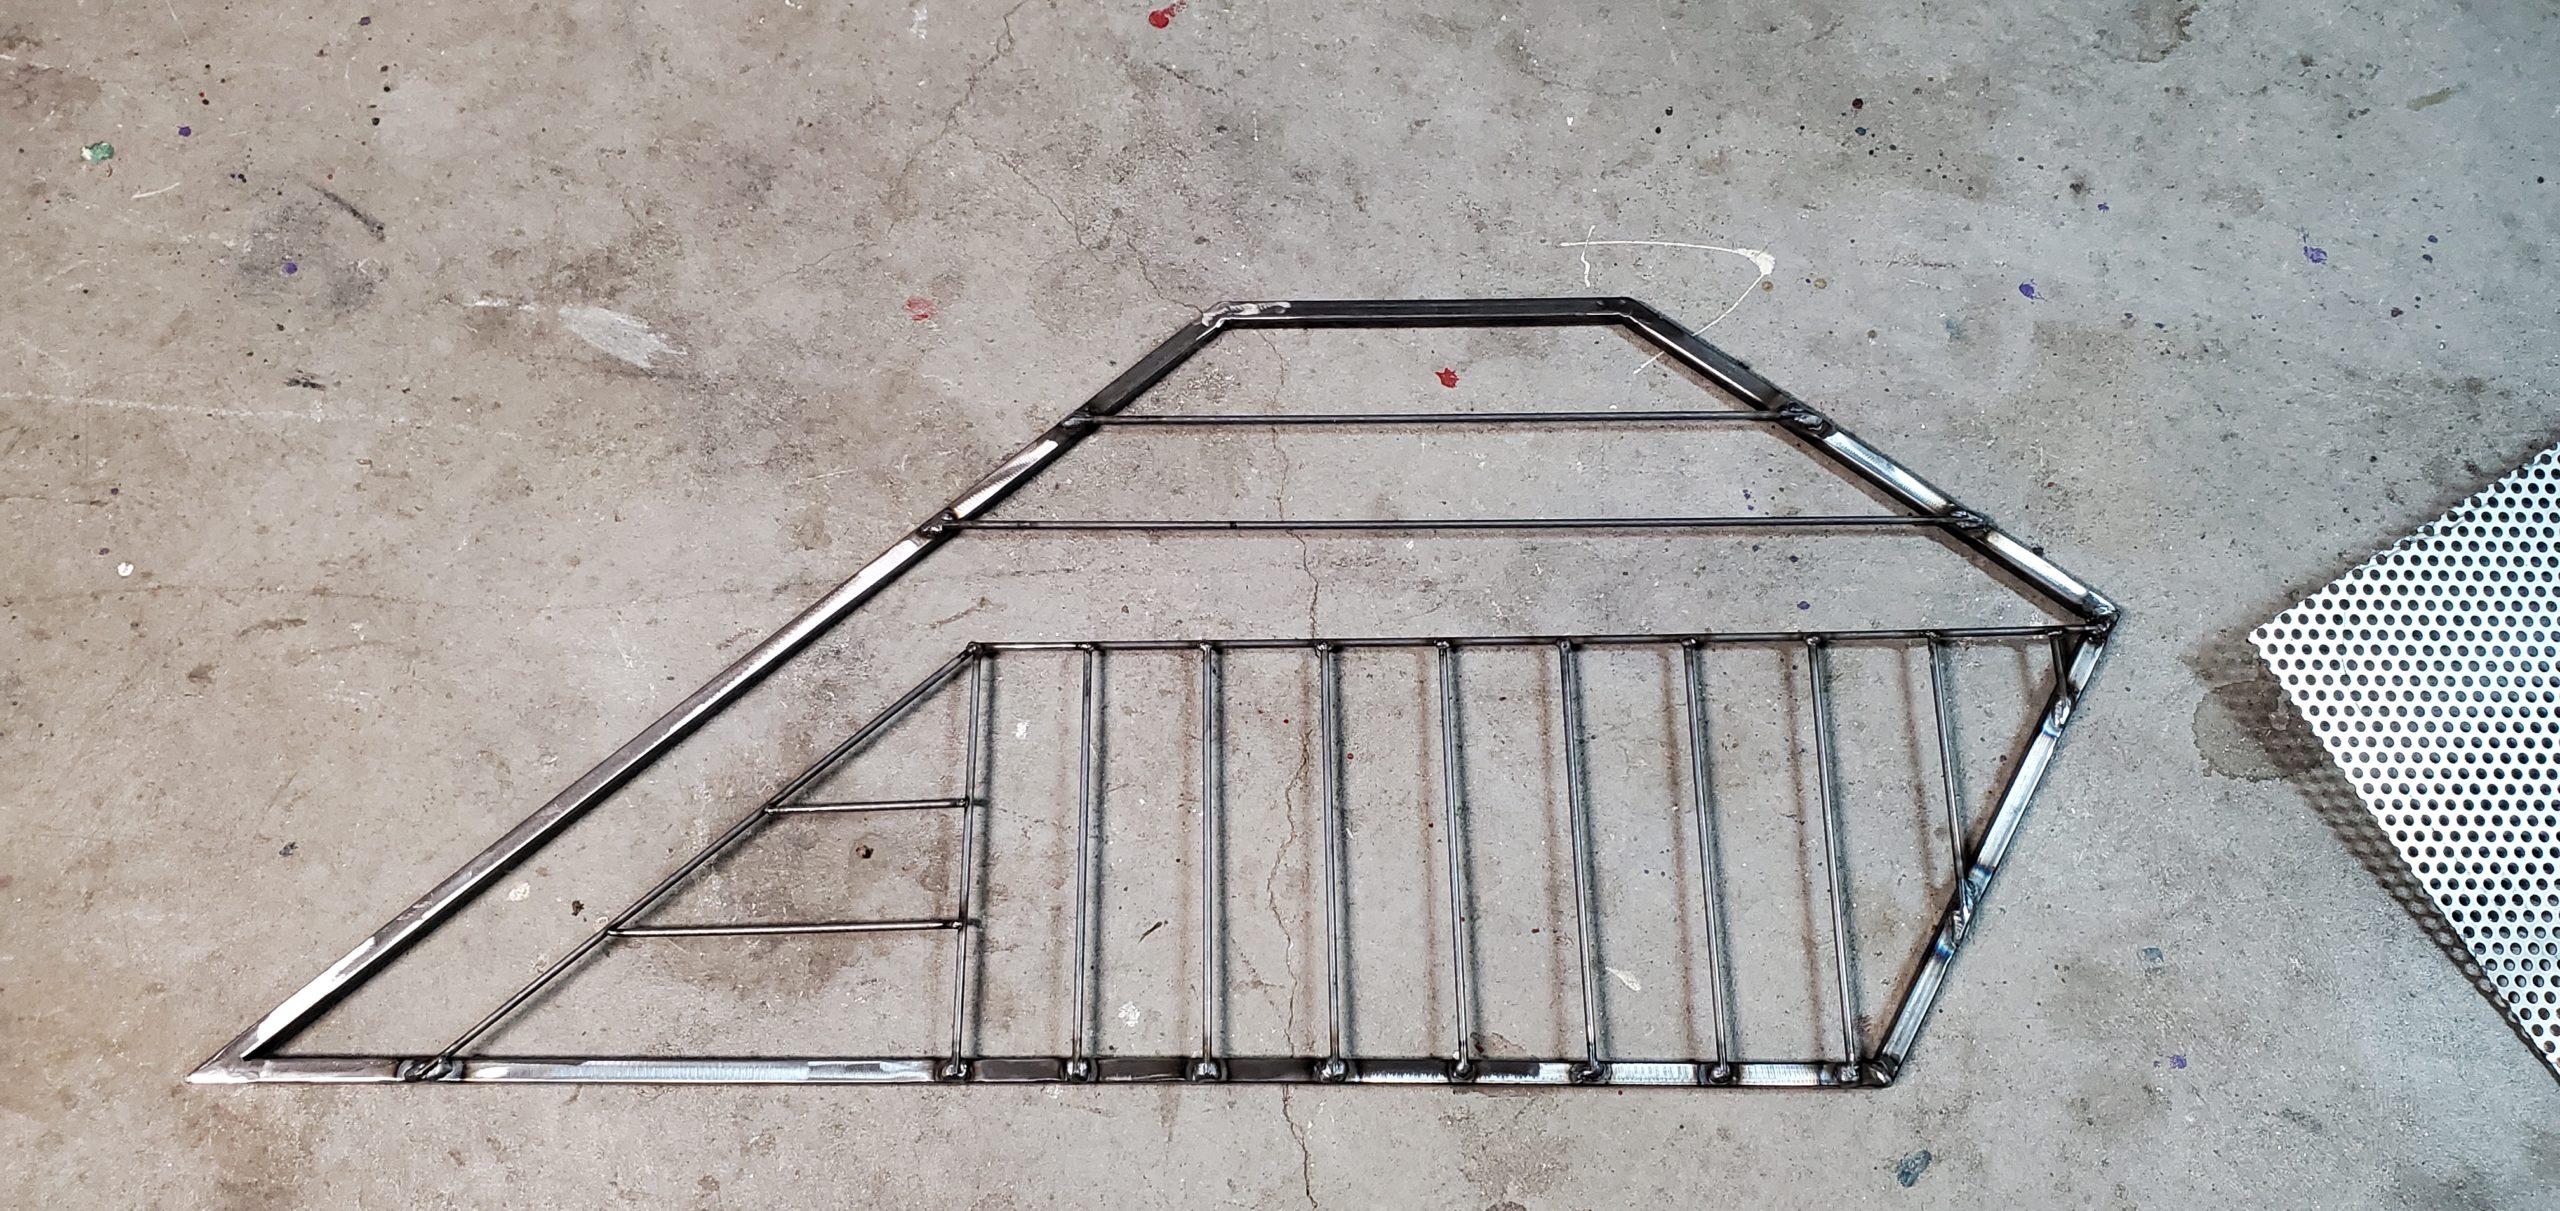
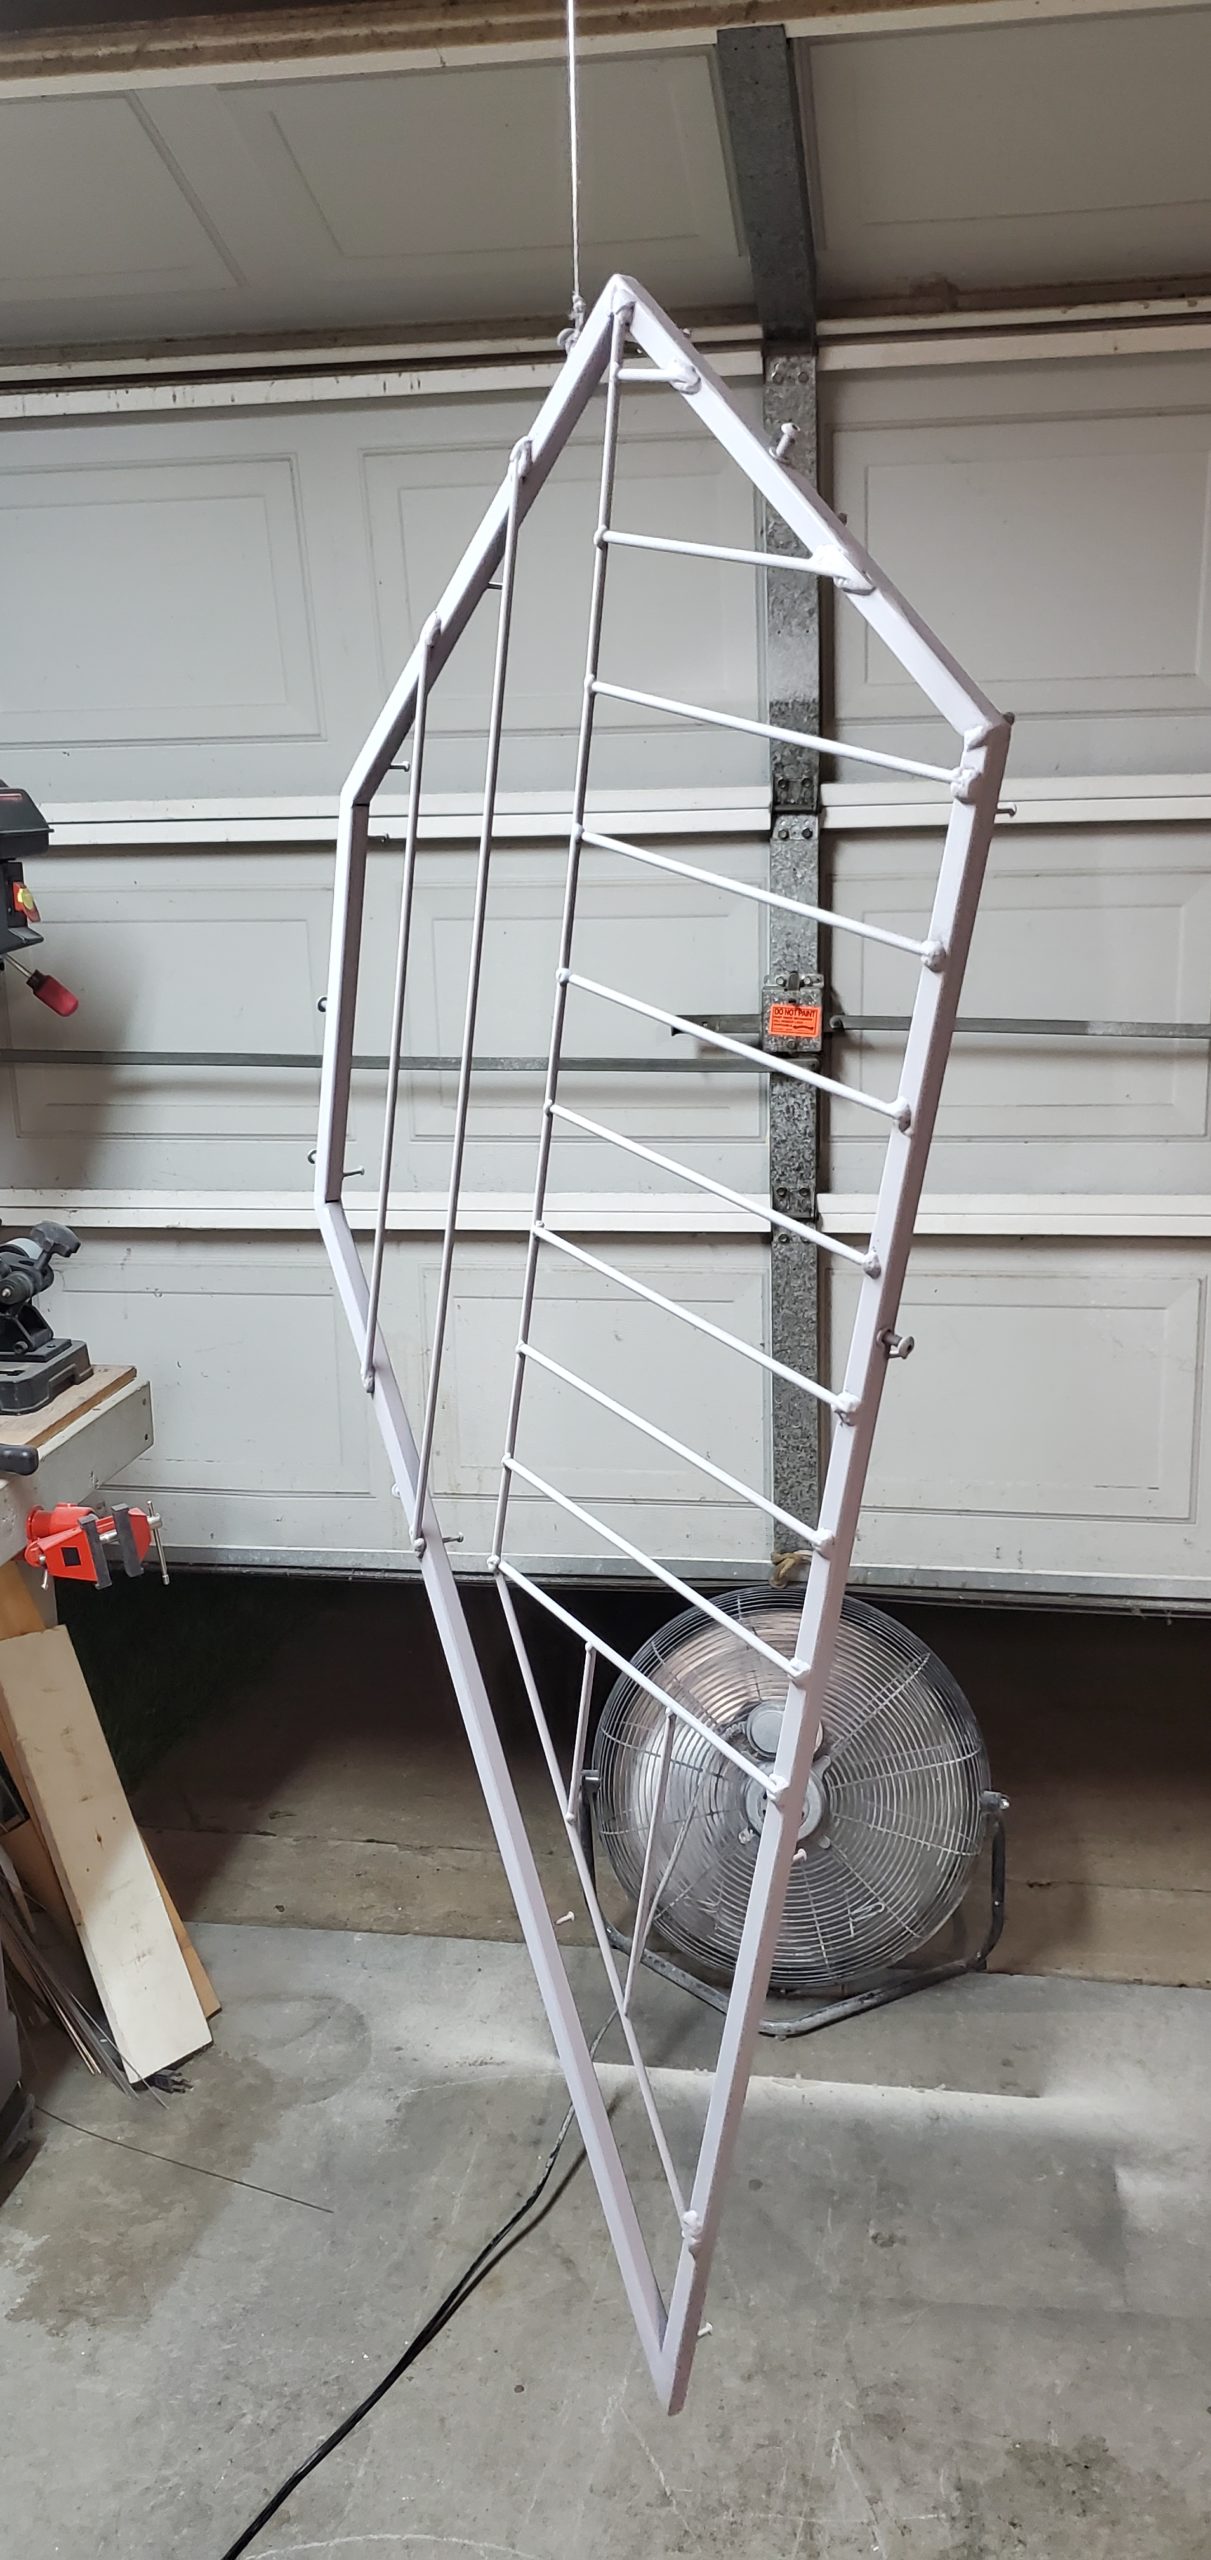
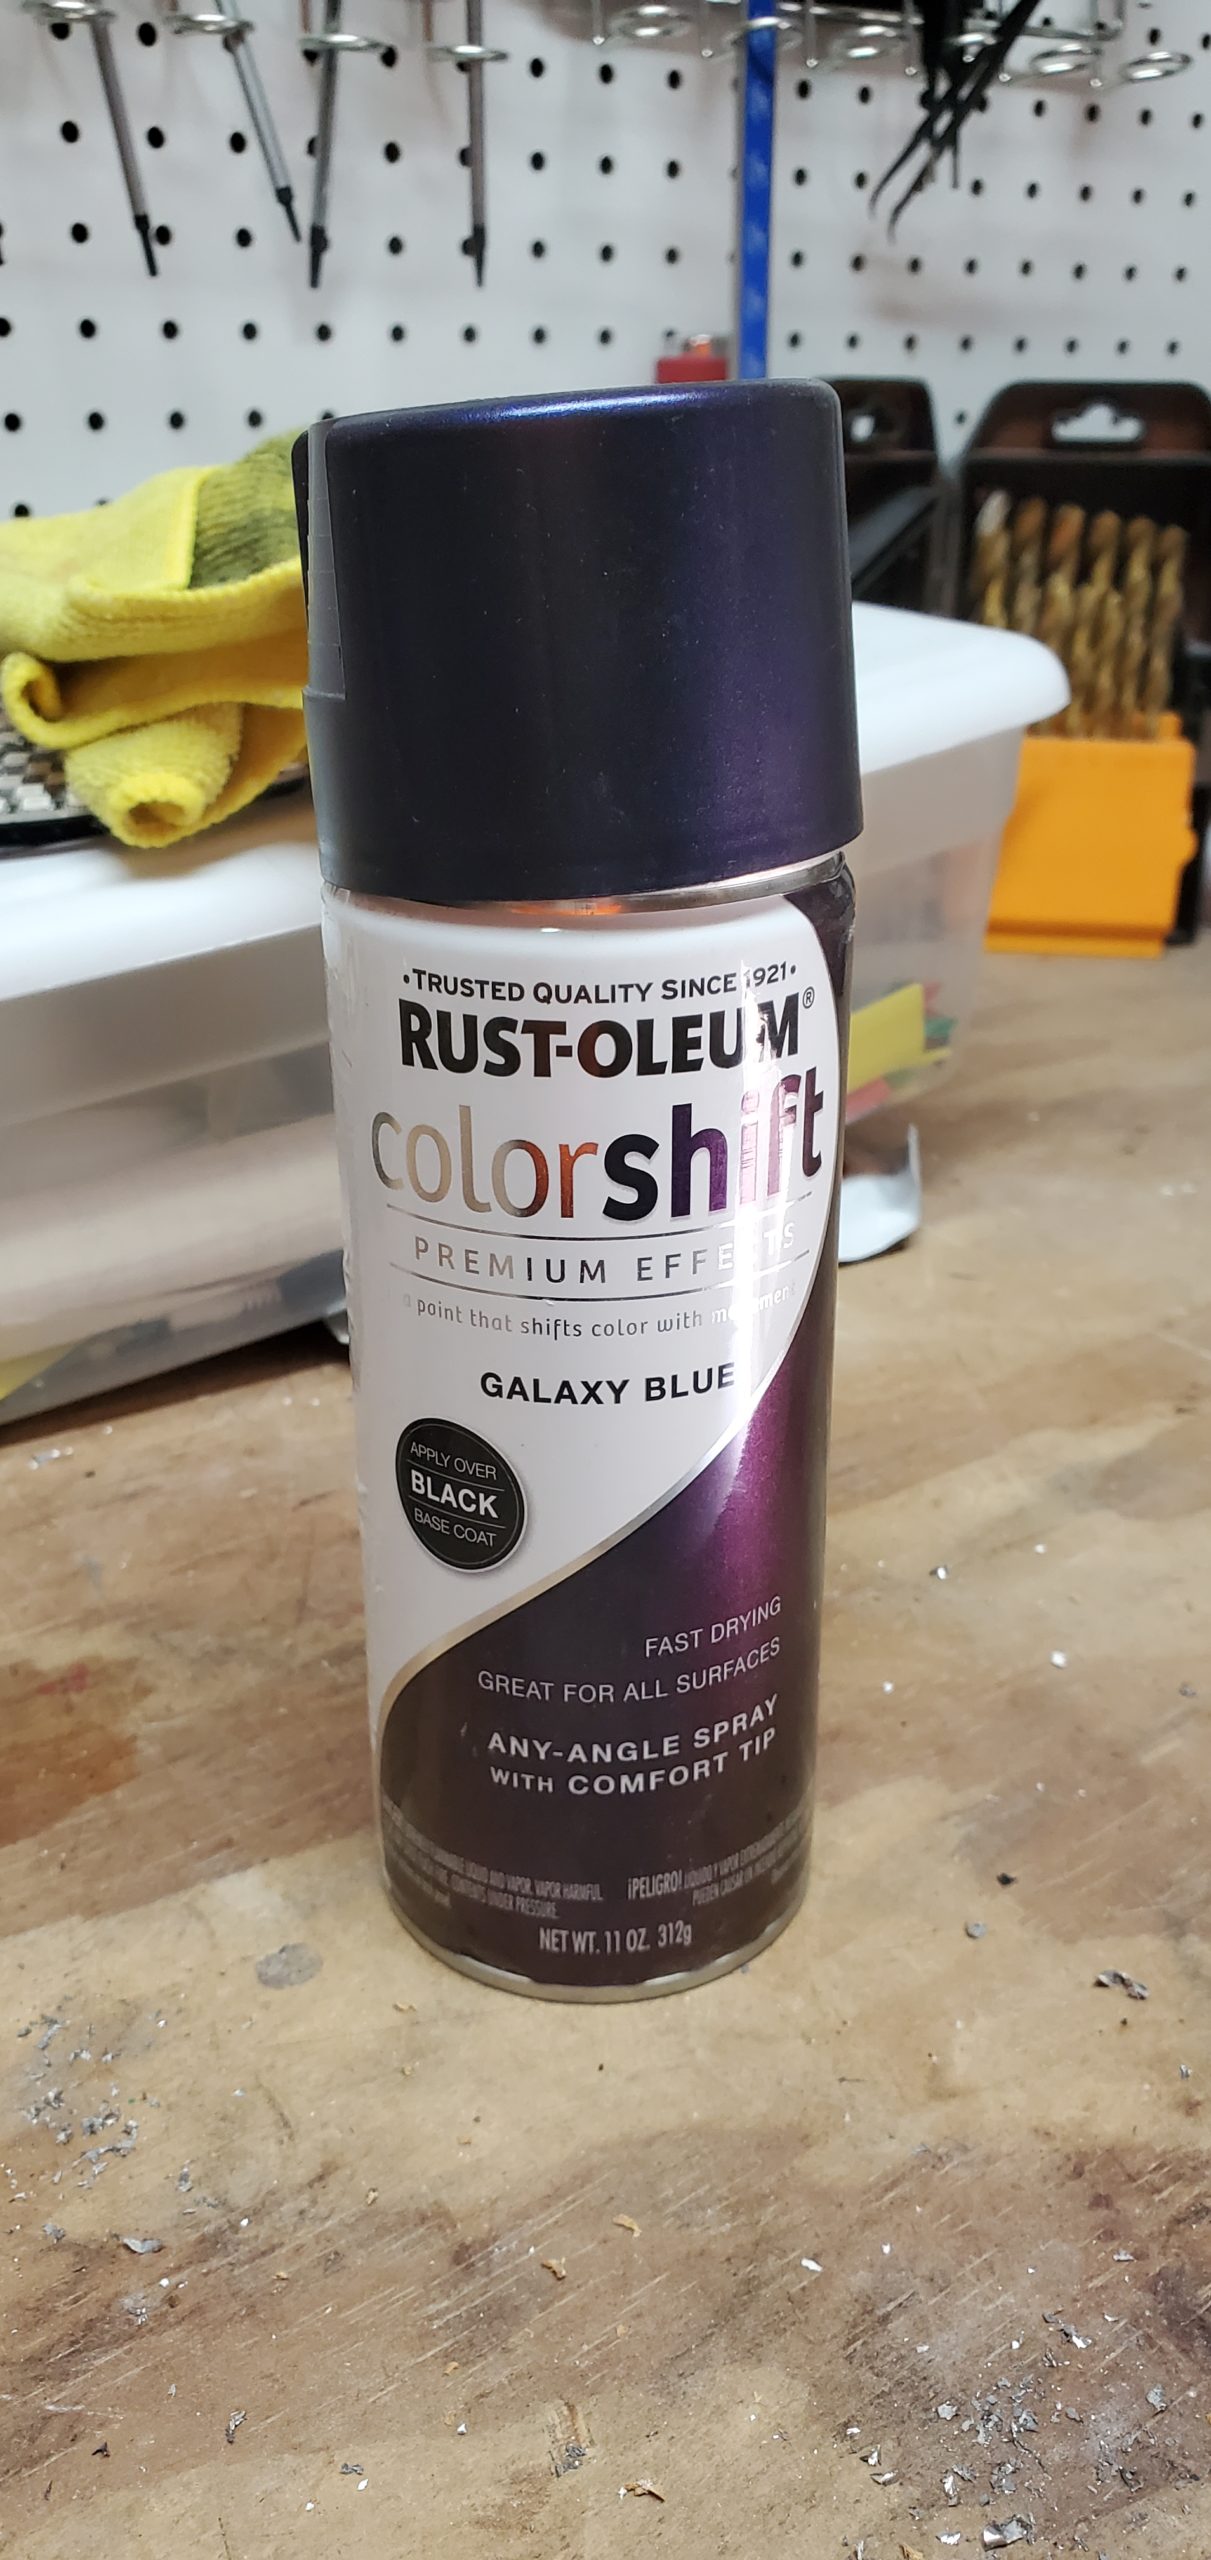
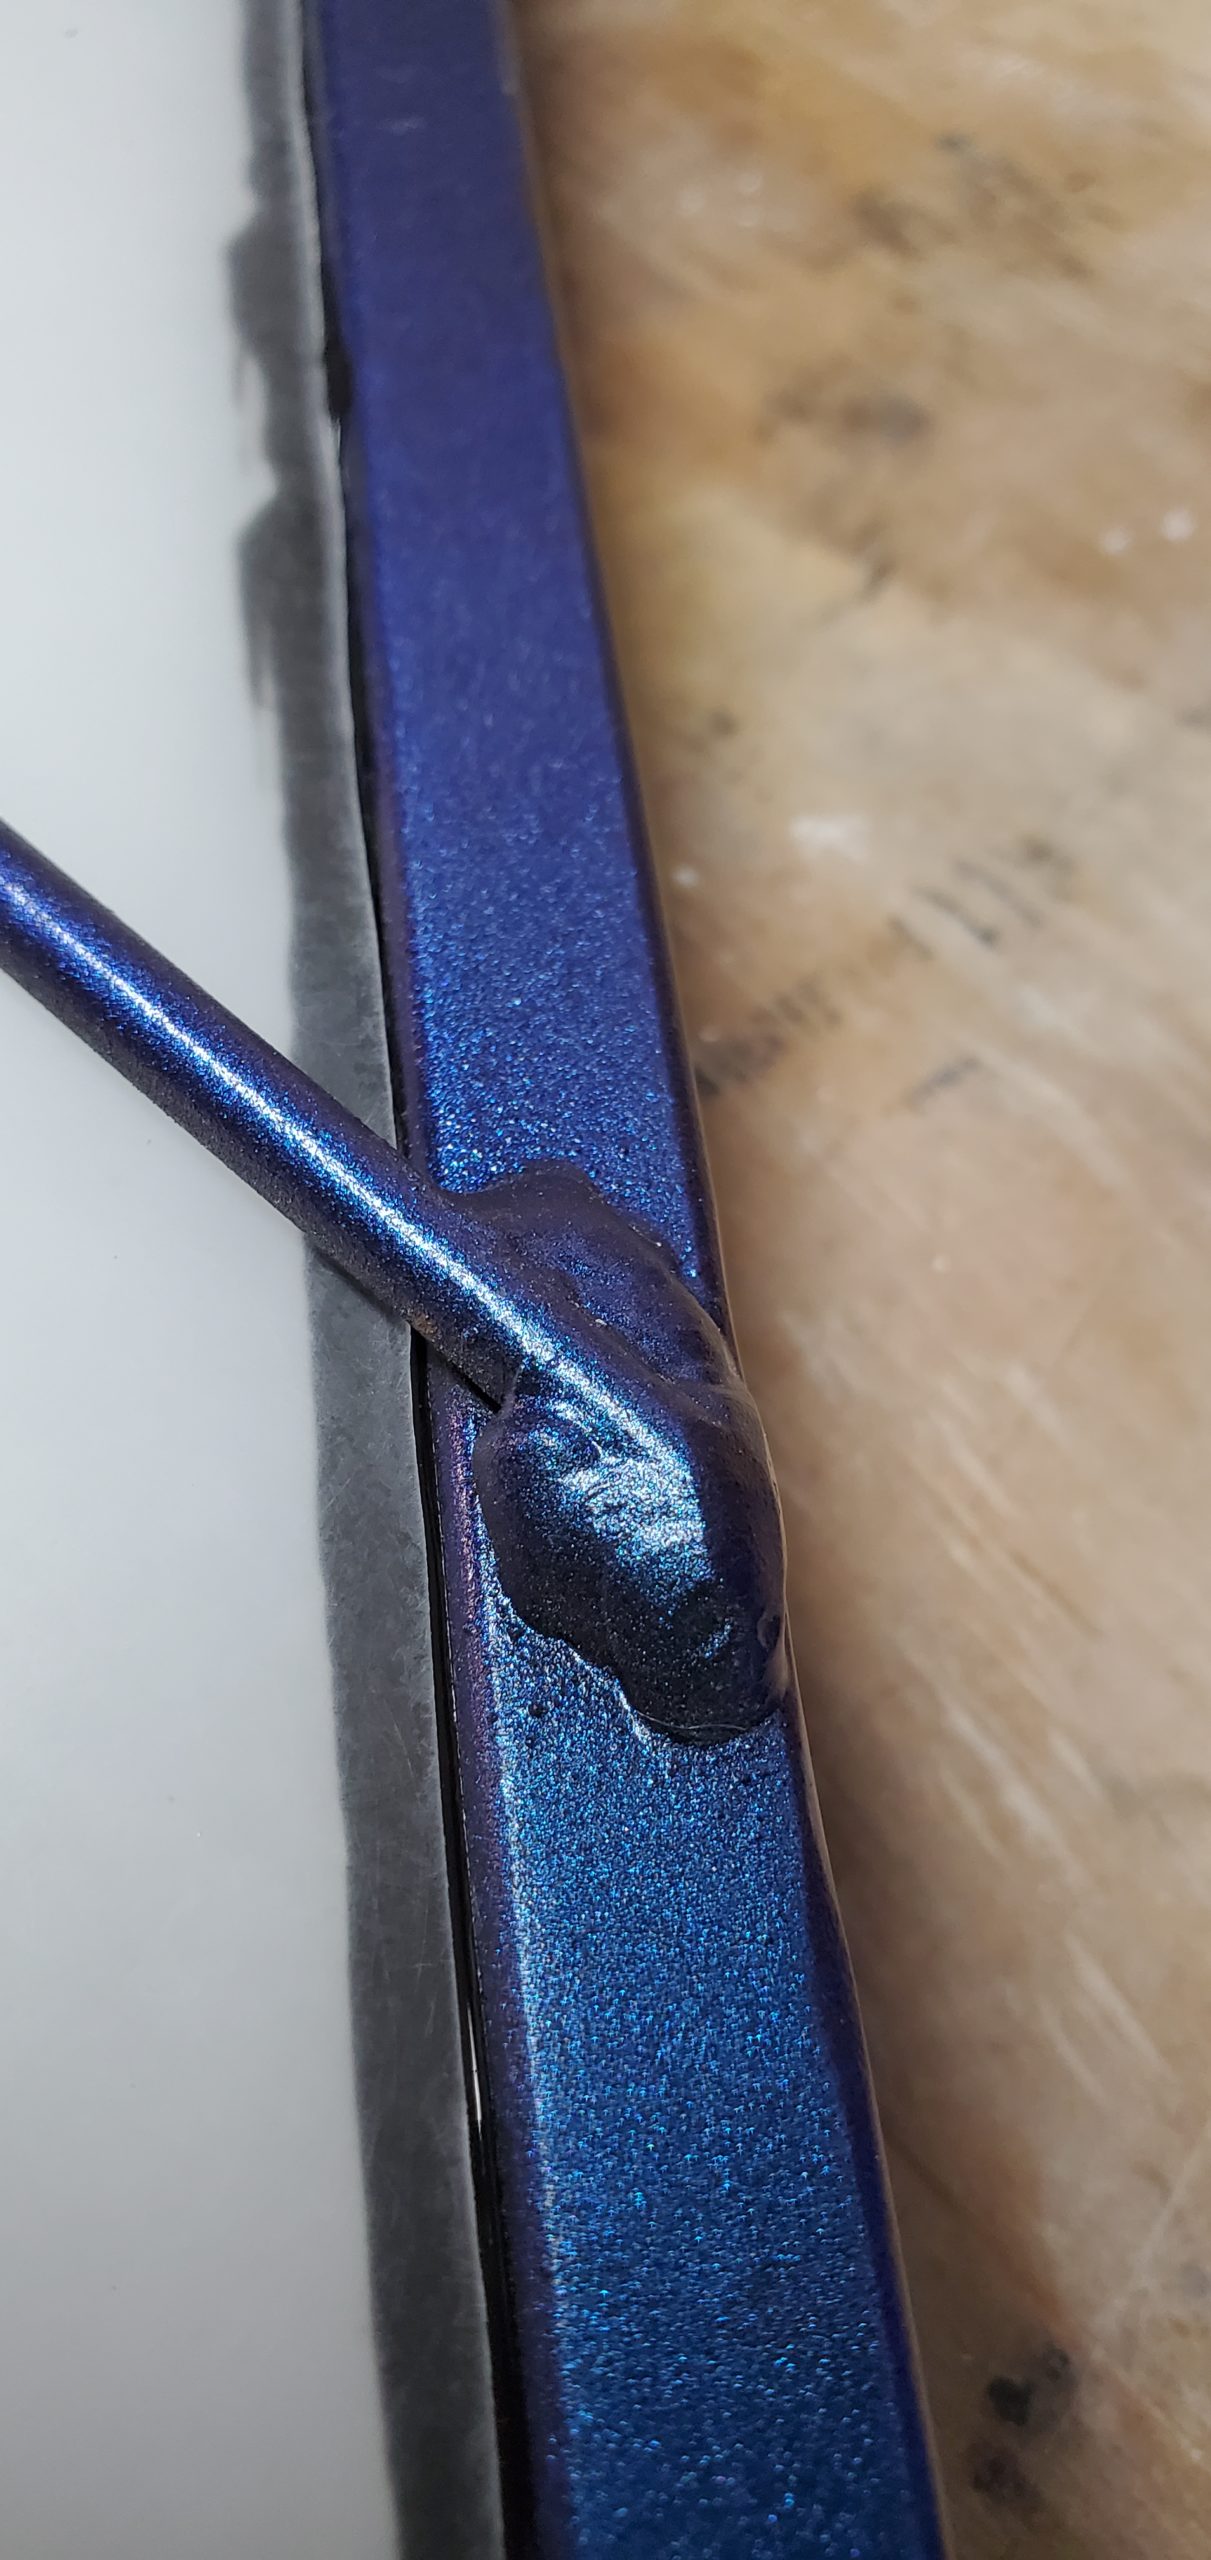
The panel frames are made of 1/2 inch square steel tubing. 3/16ths inch steel rods are used as the line details. These are MIG welded together. The steel is painted with primer, a base of black, a couple of coats of color-shifting paint, and a clear coat to protect it as much as possible. I start by creating a cardboard template.

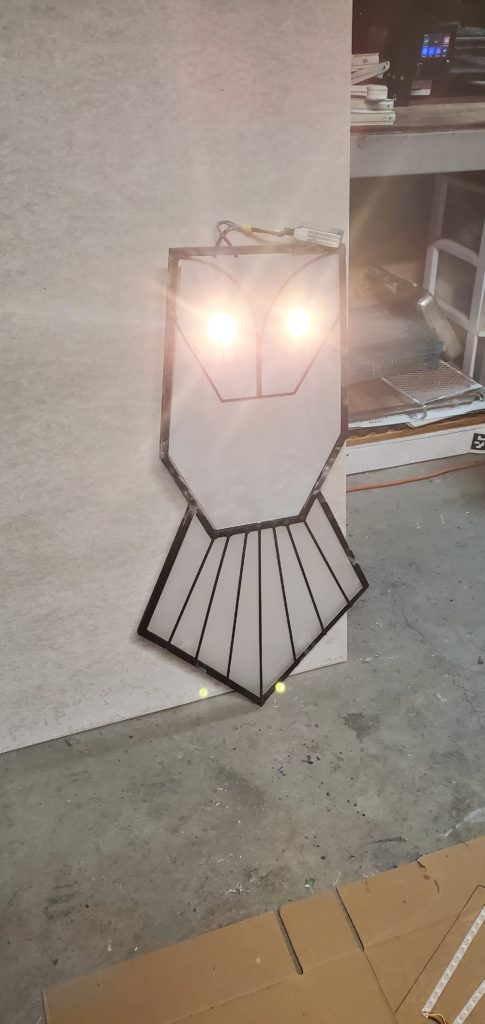
The individually addressable LED strips are mounted on fiber-reinforced plastic sheets. I used 60 WS2812B LEDs per meter strips for all panels. The strips are self-adhesive, but I added a fair amount of epoxy to hold everything together and on all the solder points for good measure. Each panel has its own microcontroller and DC-DC inverter for powering the LEDs. I did this for redundancy and if I have an issue with one panel, the remaining ones still work. The microcontrollers are simple Arduino Nanos and the inverters are XP-PoIr DTJ2024S05. I use these XP inverters at my job, and they are rock-solid, plus they are mostly sealed. I utilized M3 rivet nuts and bolts for affixing the FRP LED panels to the frames.
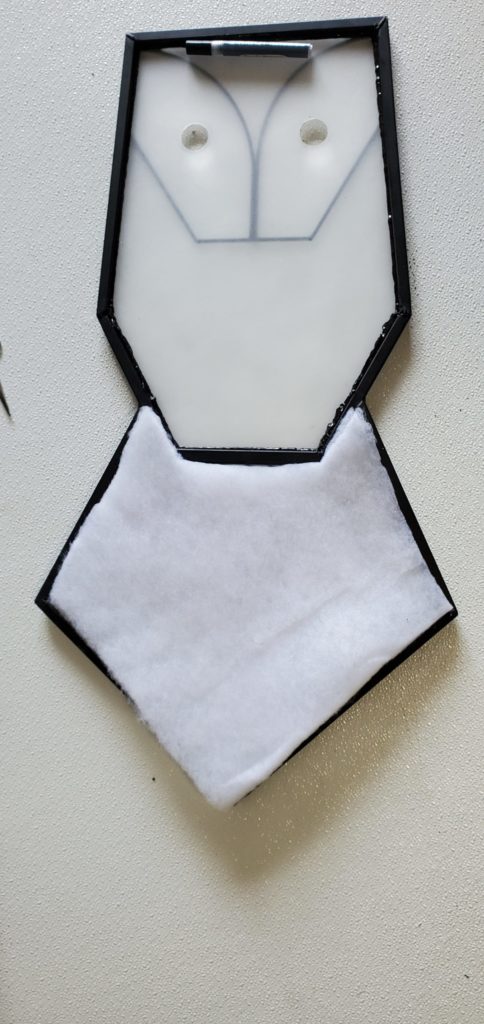
For in front of the LEDs, I cut acrylic sheets to fit inside the frame and rest on the steel rods. These are sanded on both sides to defuse the LEDs. The acrylic was secured to the frame with black silicone around the edges. The LED strips were still visible, so I had the idea to sandwich poly-fil sheets between the LED panels and the acrylic. I really loved how this look came out. It looks finished whether the LEDs are on or off, and when the LEDs are on, the polyfil does a great job at diffusing them while still allowing each LED to be visible.
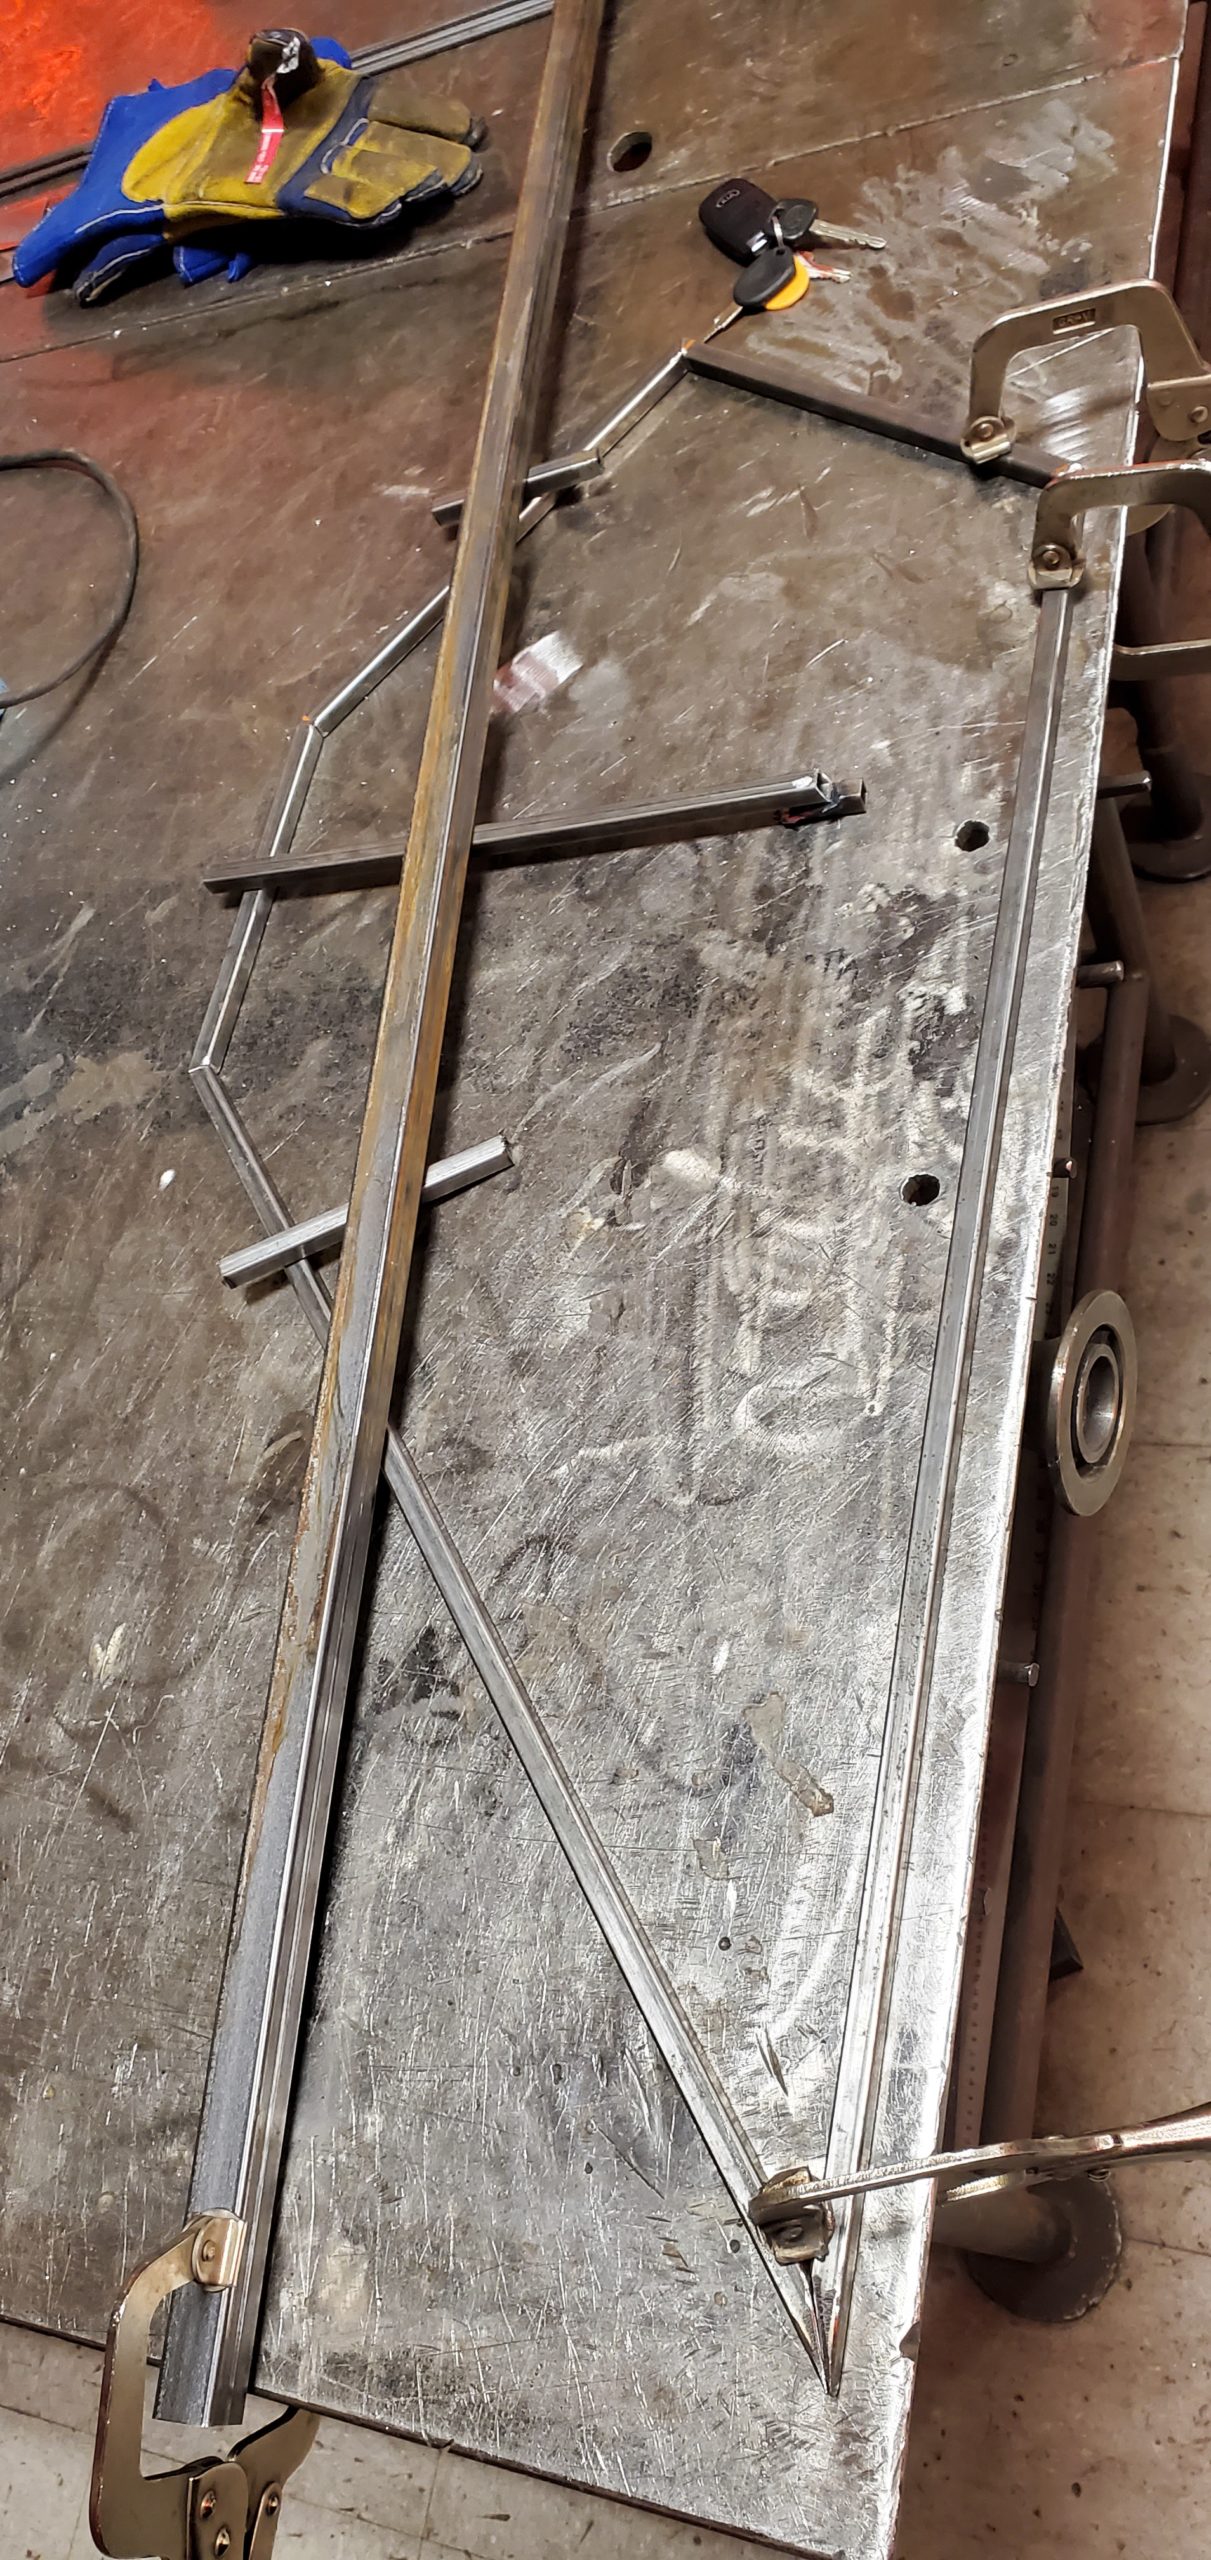
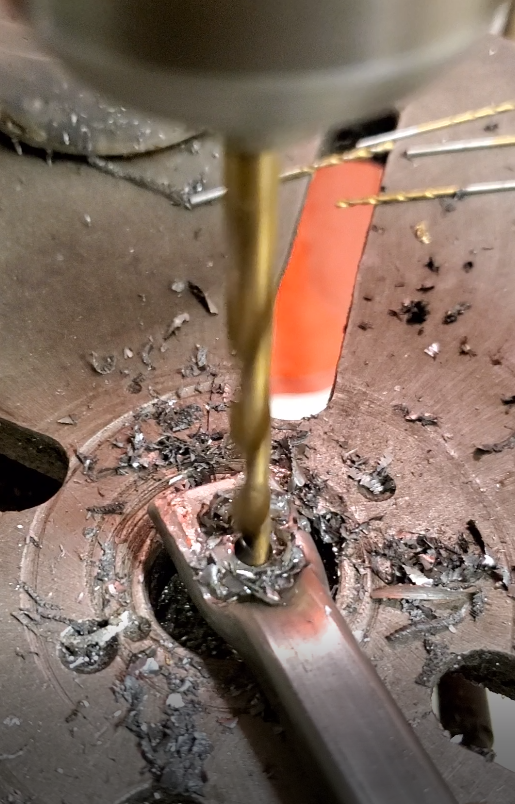
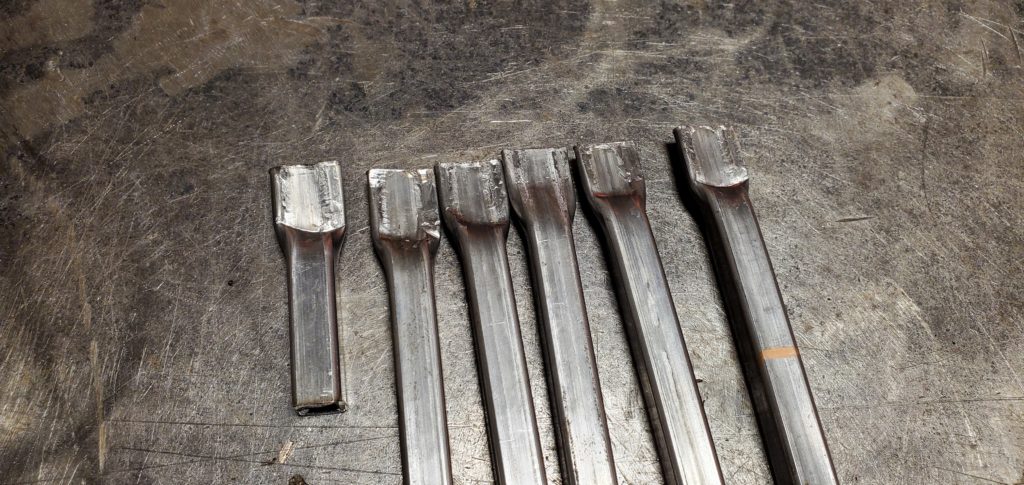
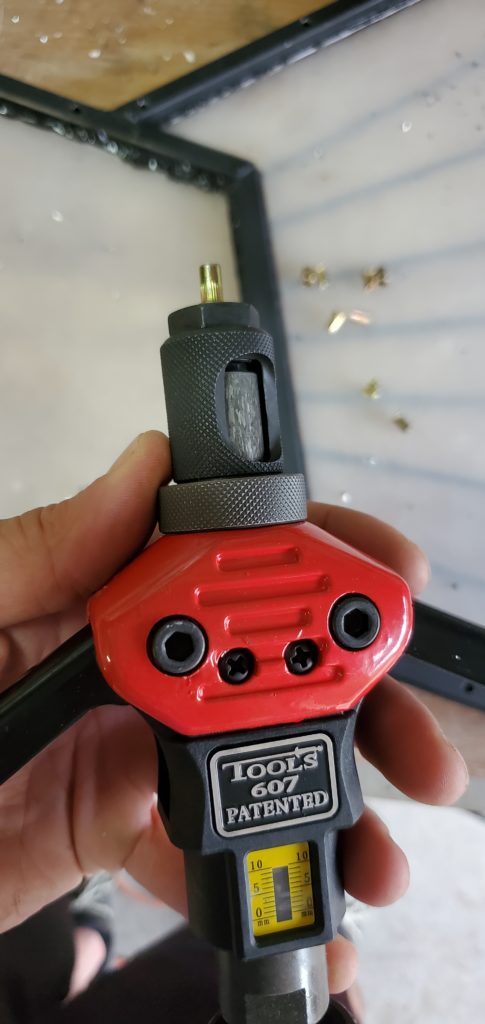
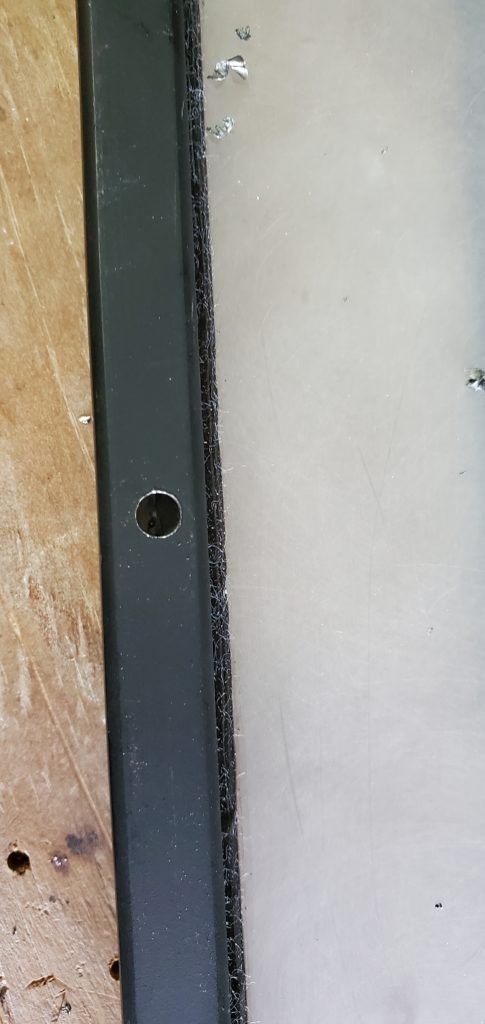
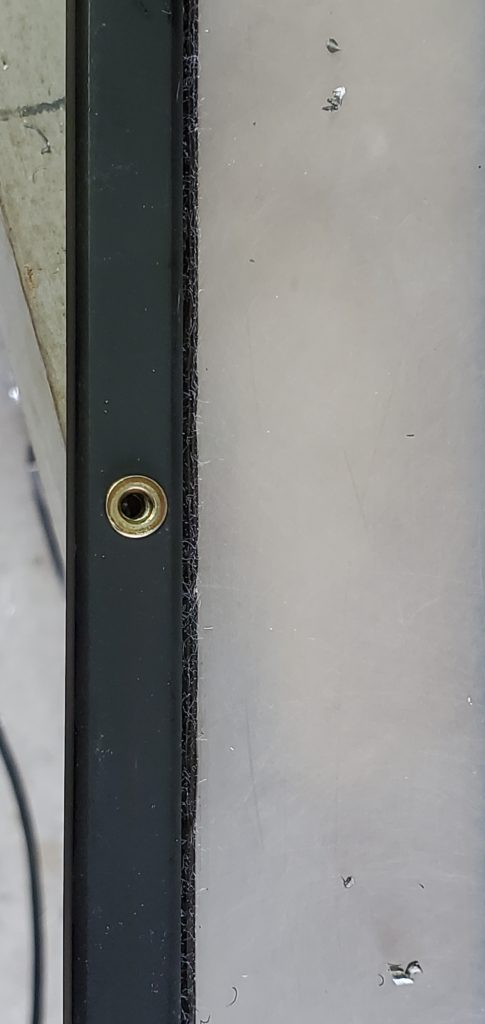
The panels are mounted to the scooter frame using the same ½ inch steel square tube. One side was flattened with a hydraulic press and a hole drilled into it for an M5 screw. The panels have M5 rivet nuts on the sides that the screws bolt to. The other side is welded to the scooter’s frame.
After a trip to the playa in 2021 and discussing the vehicle with a couple of DMV volunteers, I knew I wanted to make some upgrades.